Showing posts with label gold. Show all posts

Sunday, March 9, 2014

Shark Tooth Necklaces!

My boyfriend Ramsey and I recently took a vacation to Cancun to get away from Chicago's brutal weather.  It was an amazing escape!  We stayed at Paradisus Hotel where we lounged on the beach for a couple of days, then spent an afternoon spelunking and snorkeling in a National Geographic-certified cave a few hours away.

A little friend we found showing off

Reading marketing books on my new Kindle

Ramsey and I at the Tulum Mayan ruins

View from the hotel room

Lazy day at the resort

Sunset stroll


While on the beach, I was approached by a local jewelry maker named Angel selling his necklaces on the beach.  I chatted with him about his designs and his life (he's 21 and has a son), and he agreed to sell me some of his sharks teeth!  He told me that he purchases entire shark mandibles and pulls off the best teeth to use in his jewelry.  He fits the teeth into washed up coral and drills a hole into the teeth to hang them from his necklaces.

Angel and I discussing shark teeth

Following the trend of chevron, geometric triangles, and spikes, shark tooth necklaces are going to be a huge trend this summer!  I loved the ability to purchase these little babies from an independent artist like myself!  I brought them home (without declaring "organic materials" on my customs form... whoops!) and had fun designing a little set this evening.

 
I double wire wrapped the shark tooth using 22 gauge 14k gold filled wire onto one of my favorite types of chain: satellite chain.  I love the extra pattern it gives while still maintaining a minimal appearance.  I'm offering it on Etsy with the satellite chain (more expensive) and a standard chain.


Hope you love these as much as I do!


www.paradisus.com
www.etsy.com/shop/landonlacey

Wednesday, January 8, 2014

Edgy Bridesmaid Necklaces

Music: Chicago by Sufjan Stevens (http://www.youtube.com/watch?v=l1PUqZyeuAk)

There's something eternally beautiful about a gemstone created by the earth and left raw.  When I was young, I had a rock collection that has evolved over the years into this:


I love these geode slices because they're a peek into a tiny little world.  They seem magical to me, like a fairy's home.  I love how they are glammed up with the high-shine gold plating, taking them from an underground cave to a designer's showcase.  Like Mumford and Sons getting dolled up for the Grammys.  


 I made this particular set for a chick as a special order on Etsy.  I hope she loves them, because it was very sad putting them in the mail!  This is the curse of my art - I get too attached.  And these delicious little nuggets are easy to get attached to.

Check out my other pieces here: Landon Lacey on Etsy


Sunday, January 5, 2014

How To Make a Hand Stamped Suspended Bracelet


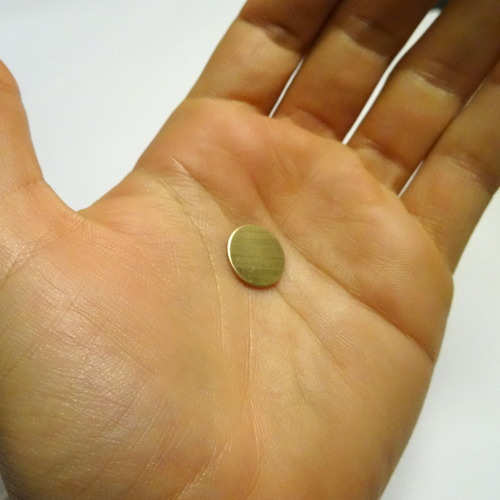
This is my first how-to post... feel free to ask questions and give me feedback!  I’m going to explain how to make a personalized, hand stamped, suspended bracelet.  Step 1: Pick your blank.  Choose a blank with enough gauge (mine is 18 gauge, nice and thick) and width (mine is about 13 mm).

image

Here’s the blank I chose:

image

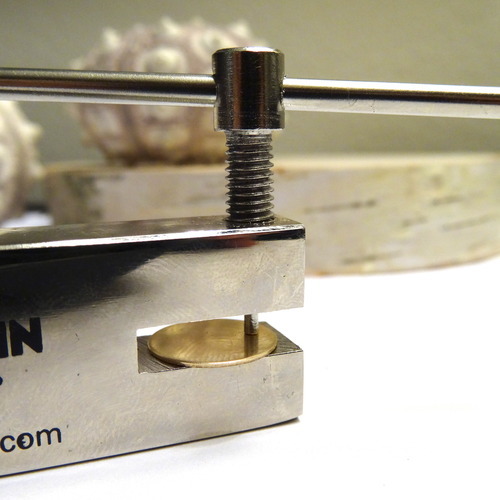
Instead of ordering blanks with holes, I chose to place them myself (it allows for some more creativity).  This is a nifty little tool you use to screw a hole into a blank.  It has two sides, one that makes a 1.5 mm hole and one that makes a 2 mm hole.  I chose 1.5.  I got this from : http://www.firemountaingems.com/itemdetails/H203084TL.  I like it because you don’t have to squeeze hard, you simply turn.  So I marked where I wanted my holes with a pen, and then turned the knob to push the screw through.

image

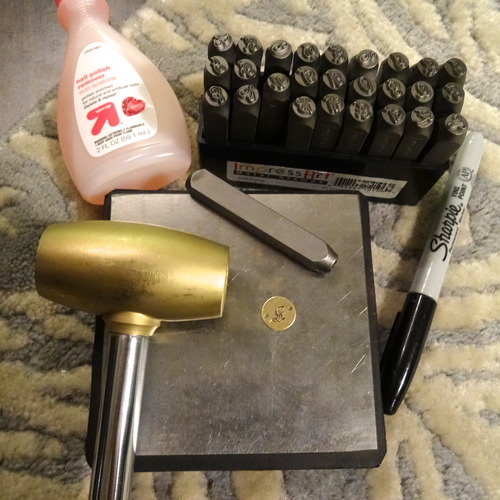
On to hand stamping letters…  www.beaducation.com has a fabulous tutorial on their website on how to do this under their “Learn” tab.  If you’re getting into this, I highly recommend it!  Their products are pricy though, go to www.halsteadbead.com for better prices on blanks.
So I choose my letter and then position it so I can see its reflection in the blank to make sure it isn’t upside down or askew.  Then I use my hammer (I recently had one of these taken from me at the airport… whoops… expensive mistake) and give the metal letter around 13-20 good whacks.  I try to tilt it to make sure all the corners are good and clear, but it you tilt it too far, it will make an impression of the circle around the letter.  I used to put my metal slab (I don’t know technical words) on the floor to hammer letters, but it drives my neighbor below me nuts, so now I rest it on my knee and give it a few more whacks than I would on the floor. 
Once you’re happy with your impression, you can take a permanent marker and fill it in.  Use nail polish remover to wipe off the excess marker and you have a beautifully contrasted initial stamped.

image

Measure out the length of chain you’d like.  My total lenght is 7” and it fits loosely around my wrist but won’t fall off, so measure accordingly and make sure to include your blank and clasp.  Cut it in the middle so you can secure the blank to one side and half of your clasp to the other.
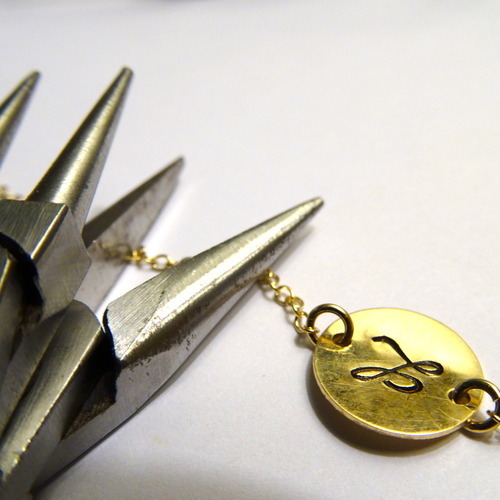
Use toothless pliers to secure jump rings to your chain.  You can also choose to wire wrap the blank to the chain.  I like a smaller jump ring because it gives it a cleaner look.  Avoid pliers with teeth so you don’t tear up the jump rings.

image

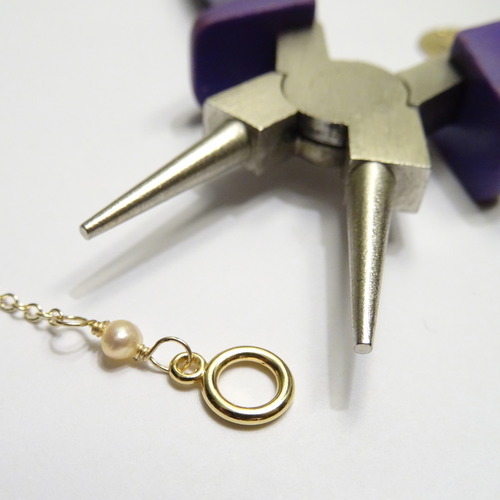
Use jump rings or wire wrap the chain to a clasp.  I chose a toggle. 

image

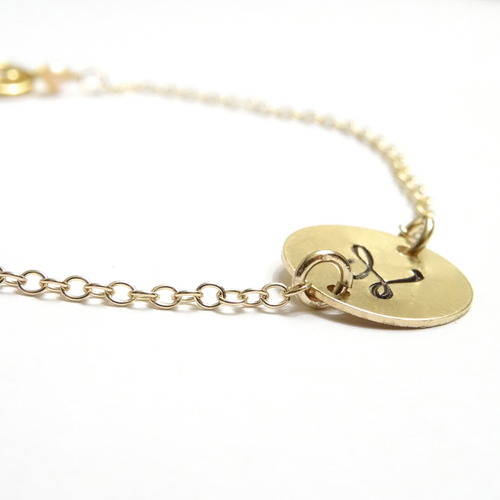
And the finished product… a delicate, minimal, hand stamped, suspended bracelet.  Thanks for reading!

image